
Mar. 19, 2024
Pet waste stations are essential amenities in public parks, apartment complexes, and community spaces, providing a convenient and hygienic solution for pet owners to clean up after their furry companions. Assembling the dispenser component of a pet waste station is a straightforward process that can be completed with minimal tools and expertise.
Step 1: Unpack the ComponentsCarefully unpack the contents of your pet waste station dispenser kit, ensuring that all components are present and undamaged. Typical components include the dispenser unit, mounting hardware, and instructional manual.
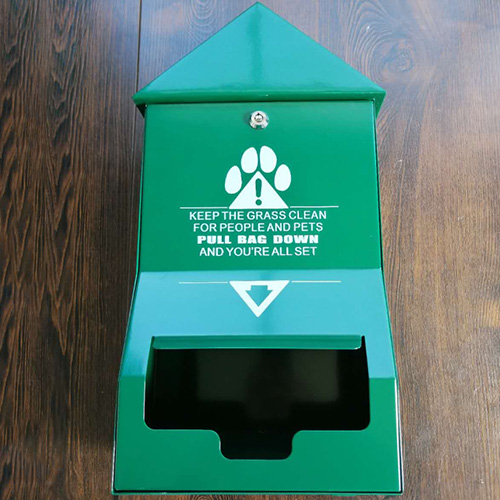
Step 2: Identify the Dispenser UnitLocate the dispenser unit, which typically consists of a durable plastic housing with a hinged lid and a slot for dispensing pet waste bags. Ensure that the dispenser unit is clean and free from any debris or obstructions.
Step 3: Attach the Mounting BracketIf your dispenser unit requires mounting, locate the mounting bracket and hardware included in the kit. Position the mounting bracket in the desired location, ensuring that it is securely anchored to a sturdy surface such as a fence post or a concrete pad. Use screws, bolts, or anchors as necessary to secure the bracket in place.
Step 4: Install the Dispenser UnitOnce the mounting bracket is in place, position the dispenser unit onto the bracket, aligning the pre-drilled holes on the back of the dispenser with the mounting holes on the bracket. Insert screws or bolts through the holes and tighten them securely using a screwdriver or wrench.
Related links:Step 5: Secure the LidIf your dispenser unit features a hinged lid, ensure that the lid is securely attached to the housing. Open the lid and check for proper alignment, ensuring that it opens and closes smoothly without any resistance. Adjust the hinge if necessary to achieve the desired functionality.
Step 6: Load Pet Waste BagsOnce the dispenser unit is securely mounted and assembled, it's time to load it with pet waste bags. Open the lid of the dispenser and insert a roll of pet waste bags into the designated compartment, ensuring that the bags feed through the dispensing slot smoothly.
Step 7: Test the DispenserBefore putting the dispenser into service, perform a final test to ensure that it functions correctly. Pull a pet waste bag from the dispenser to verify that it dispenses smoothly without any jams or obstructions. Close the lid and check for proper closure and latch engagement.
Step 8: Final InspectionOnce assembled, visually inspect the entire pet waste station dispenser to ensure that all components are properly installed and secured. Check for any loose or missing hardware, and make any necessary adjustments or corrections.
Assembling your pet waste station dispenser is a simple and straightforward process that can be completed in just a few easy steps. By following this step-by-step guide, you can ensure that your dispenser is properly installed and ready for use, providing a convenient and hygienic solution for pet waste disposal in your community or public space. With your dispenser in place, pet owners can confidently clean up after their furry friends, promoting a cleaner and more enjoyable environment for all.
Previous: Advantages of Silicon Carbide Ceramic Foam Filter
Next: Unveiling Excellence: Youbo - A Leading Professional Metal Materials Supplier in China
If you are interested in sending in a Guest Blogger Submission,welcome to write for us!

All Comments ( 0 )